Victoria Sponge

Tags

, , , ,

Here’s this week’s salient column…

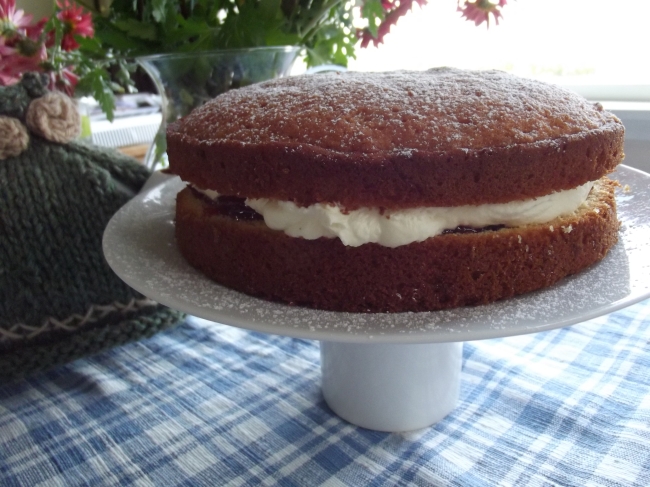
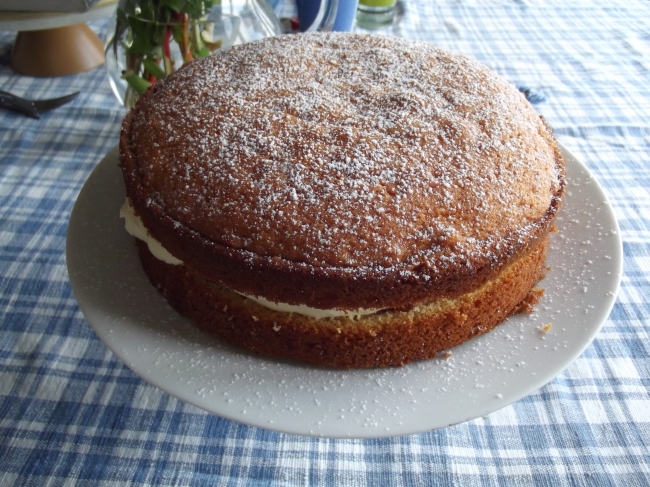
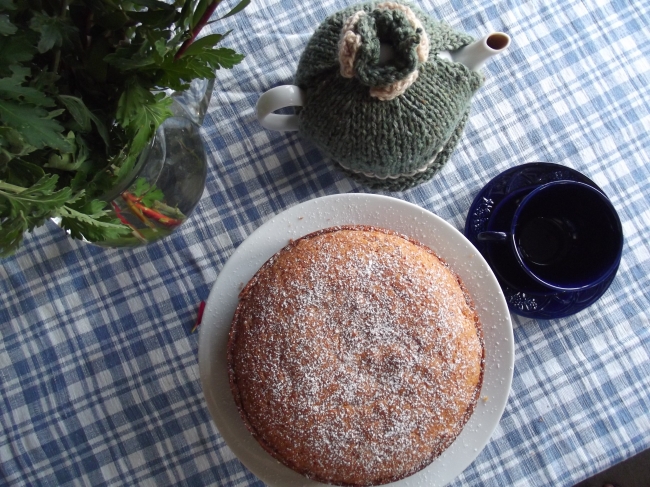
Fashionable baking is great, but sometimes it can get a little boring. More cupcakes? Cake pops (which are just cupcakes on sticks)? And don’t get me started on frosting shots. Sometimes what you want is something classic and traditional. This cake was, like our favourite academic institution, named after Queen Victoria. The Victoria Sponge would originally have been a children’s cake: it was believed to be dangerous to feed children rich seed or fruit cakes, so plain ones were chosen. Later it found its way to adult tables, and aren’t we glad it did. 

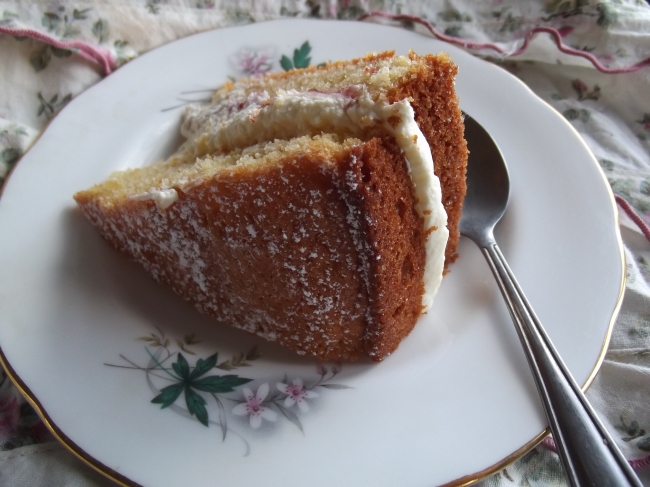
This cake is a rich sponge, yellow from the butter and egg yolks. The plain buttery cake makes a wonderful contrast to the thick middle layer of cream and jam. Although the usual filling is just jam and cream, this is delicious with berries in the middle as well. It’s definitely amongst the best.

Image

Victoria Sponge (serves 8)


175 g butter

175 g white sugar

3 eggs

1 teaspoon vanilla essence

175 g white flour

2 teaspoons baking powder


5 tablespoons jam

1 cup cream, whipped

Icing sugar, for dusting


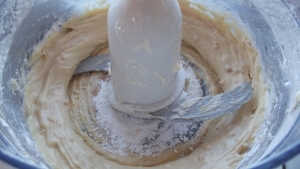
Preheat the oven to 180°C. Warm the butter until soft. Cream (mix briskly) the butter and sugar together until light and fluffy; this can be done with a fork, egg beater, or electric mixer. Add the eggs one at a time, beating well after each one. Add the vanilla and beat again, making sure it is smooth and fluffy. Slowly add the flour and baking powder to the egg mixture. Beat for a few minutes, until the batter is very smooth and fluffy. The final result should be almost the texture of mock cream.

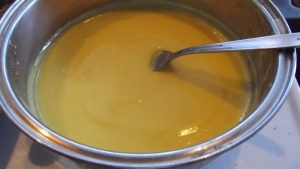
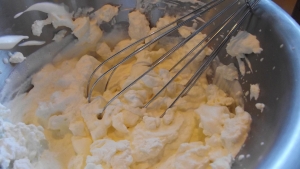
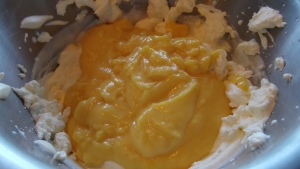
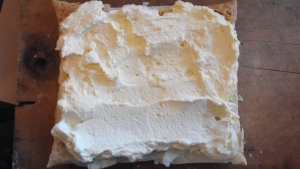
Place in a well greased circular tin, about 20 cm diameter. Alternatively, you can use two tins, and split the batter between them. Bake until the top is light brown, the cake has pulled away from the sides, and the top springs back if gently pushed. For two tins, this takes around 20-25 minutes, for a single tin about 45. Do not open the oven door while baking until quite far through the cooking time, or the cake might sink. When done, remove from the oven and cool for a minute, then take out of the tin and cool completely. If one cake, cut in half. Fill with a layer of jam and whipped cream, sandwich cakes together, and dust the top with icing sugar. Serve at once.

 

Image


Image

Image

Fig and Pear Pie

Tags

, , ,

And here’s this week’s Salient column…

I think it’s pretty miraculous that it’s taken me until now to write about a pie. Let’s be honest, pies are one of the high points of baking. They are juicy, flavour filled and delicious. They offer an infinite number of options, with flavours for any mood or occasion – creamy, fruity, chocolatey, plain, formal, or casual. On a purely practical level, they are easily transportable and can be eaten hot or cold. Plus, every time you lift a pie out of the oven, you feel like Julia Child, Nigella Lawson and a 50s housewife (but without all the oppression) rolled into one. Best food ever? I think so.
This is a perfect celebration pie. It is incredibly rich, sweet, sticky, and unforgettable, and would make a lovely end to any special dinner. It’s nice hot, but I think it is even better when it is only just warm; the filling thickens, the flavours are more prominent, and it doesn’t melt the ice cream as fast. This pie is also good eaten cold the next day, especially for breakfast (all in the name of research!).

DSCF4560

 Fig and Pear Pie (serves 8)

120g brown sugar

30g cornflour (cornstarch)

300g dried figs

1 cup water

2 ripe pears

1.5 sheets of sweet short pastry*

Preheat the oven to 180. Place the figs and water in a small pot, and boil for two minutes. Mix the brown sugar and cornflour together, and add to the figs. Continue boiling for about three more minutes, stirring constantly to prevent it sticking or burning. Remove from the heat and leave to cool for about 30 minutes.

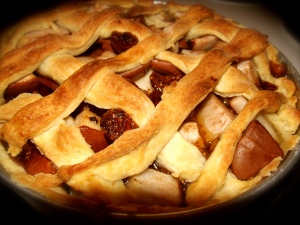
When it is cool, slice the pears into small pieces. Grease a pie dish/tin all over with butter, and line it with the pastry. Pour the fig mixture and the pears into the dish. Cut the remaining pastry into long strips, and place over the top of the filling, forming a criss-cross pattern (see photo). Bake in the oven until the lattice top is golden brown. Leave it to set for at least fifteen minutes, then serve with ice cream, cream, or yoghurt.

* This can be found in the freezer section of any supermarket. It’s also very easy to make yourself; my favourite recipe can be found on the Annie’s Eats blog (http://www.annies-eats.com/2010/06/30/basic-pie-dough-tips-and-tricks/). The quantity yielded is enough to make the bottom crust and lattice top for a medium sized tart tin.

Tomato and Herb Galette

Tags

, , , , ,

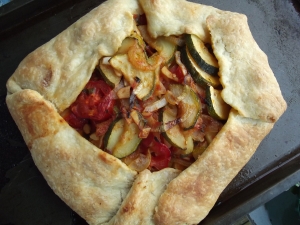
What can I say? This is pretty amazing. Soft, delicate, buttery pastry, perfectly complemented by soft and fragrant vegetables, coated in herbs and olive oil. Drooling yet? This makes a great lunch, or a light meal. Pair with a green salad and a nice wine.

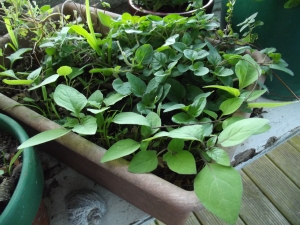
Also, check out my herb pot.

DSCF4591 DSCF4588

Tomato and Herb Galette (serves 3)

Filling:

5 tomatoes

1 large courgette

2 small onions

2 cloves garlic

small handful mediterranean herbs (I used basil, oregano and thyme)

1/4 cup olive oil

Pastry:

100 g butter

1.25 cups white flour

1/2 teaspoon salt

cold water

First of all, make the pastry. Cut the butter into chunks, and process in a food processor with the flour and salt. Add water until a dough consistency is reached. Wrap in gladwrap and put in the fridge for at least half an hour.

While the dough chills, make the filling. Preheat the oven to 180, then finely slice the onions, and saute in a tablespoon of the oil until translucent. Finely chop the rest of the vegetables, and mince the garlic, and add them to the frying pan. Chop or tear the herbs into small pieces, and add them, along with the rest of the olive oil, to the vegetable mix. Continue frying until the courgette is tender.

Roll out the pastry into a large circle, and pile the filling into the centre of it (leave behind the juice). Fold up the sides to partially cover the filing, but leaving the centre uncovered. Bake until the pastry is golden brown, and serve hot.

Feta and Sweetcorn Quinoa Salad

Tags

, , , ,

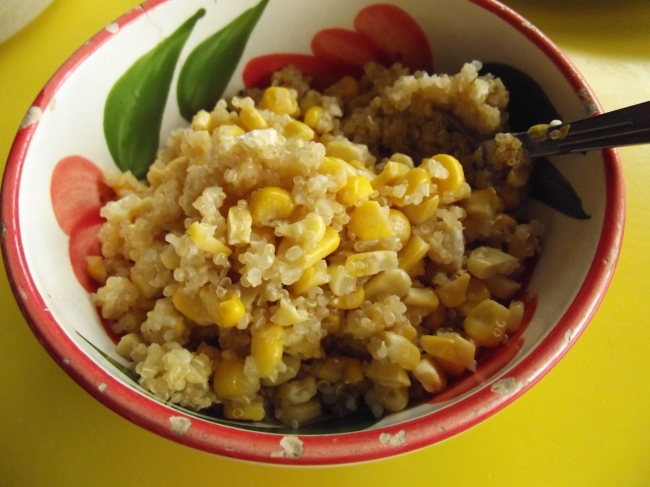
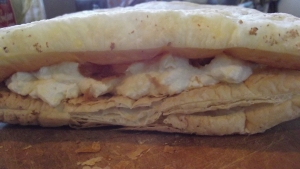
I know, I know. Everyone’s been cooking with quinoa for years now. An ancient ‘grain’ (it isn’t technically a member of the grass family), it has been heralded as a superfood, containing amino acids, and a host of minerals. However, my recent interest in it is that it is gluten free. I’ve been experimenting with gluten-free cooking lately, and it seemed like a great alternative to couscous. It is, and is far nicer. It has a better texture, and lacks the lumps and stodginess that couscous easily gets. In fact, I was amazed at how nice this was. Incredibly simple, but incredibly delicious. I had three helpings for dinner, then ate the rest for breakfast. I’ll be making this again, soon.

Image

Feta and Sweetcorn Quinoa Salad (serves 3)

1.5 cups vege stock

0.5 cups quinoa

2 bay leaves

1 large garlic clove, smashed

2 ears of sweetcorn

150g feta cheese (or to taste)


Boil the quinoa with the vegetable stock, bay leaves and garlic until the quinoa is tender (about 20 mins). Meanwhile, steam the corn, then cut the kernels from the cob. Cut the feta into small cubes. Drain the quinoa, and toss together with the corn and feta. Serve. 

Hot Cross Buns

Tags

, , , , , ,

And here’s my latest salient column…

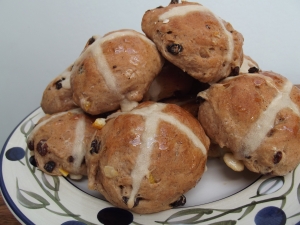
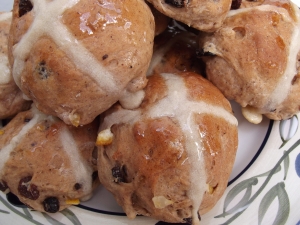
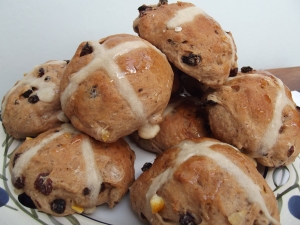
Since Easter is less than a week away, it’s definitely Hot Cross Bun time. Easter’s a great holiday: you get chocolate, you can make Hot Cross Buns, and there’s no chance of hearing ‘Rudolf the Red Nosed Reindeer’. Although supermarkets stock these, home made buns – sweet, warm, spicy, covered in butter – are far more delicious.

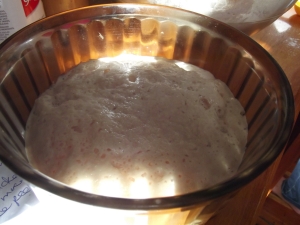
If you’ve never baked with yeast before, don’t be scared. Always use fresh yeast (not the jar the last tenants left), check the expiry date, and once opened, store in the fridge. When rising the buns, leave them somewhere warm, like by a sunny window (Aro Valleyers could hop in a sleeping bag with it). Any liquid ingredients should be around blood temperature. If they are above 60°C, it will kill the yeast. Once you’ve got these points, the rest is easy.

DSCF4544

Hot Cross Buns (makes 15)

The buns:

275 mL tepid water

1 tablespoon + ¼ cup sugar

1 tablespoon yeast

3 ½ cups flour

⅔ cup currents

½ cup sultanas

1 tablespoon ground cinnamon

1 teaspoon ground nutmeg

1 teaspoon ground cloves

75 g mixed glacé peel

25 g butter

½ cup milk

The crosses:

3 tablespoons flour

4 tablespoons + 1 teaspoon water

1 teaspoon sugar

The glaze:

3 tablespoons sugar

3 tablespoons water

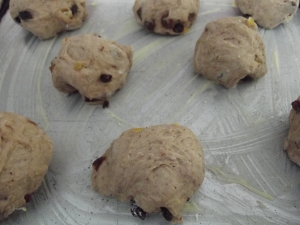
To start, place 150 mL of tepid water together with the yeast and 1 tablespoon of sugar. Leave in a warm place for about 15 minutes. Meanwhile, prepare dry ingredients by mixing flour, fruit, sugar and spices until fully combined. Melt butter, and mix the remaining warm water with the milk. By now, the yeast mix should have formed a brown foam on top. Pour yeast mix, the milk and water, and melted butter into the dry ingredients, switching between the three and mixing as you go. Knead the dough on a floured surface for ten minutes. Place in a greased bowl, cover with plastic wrap, and leave to rise for 40 minutes. Once risen, knead for another minute, then cut into 15 pieces. Place on a baking tray, and rise for 30 minutes. Preheat the oven to 180°C.

If you want crosses, mix all ingredients together. Put in a clean plastic bag, and make a small hole in the bottom. Use this to pipe crosses onto the top of your buns. Bake until golden brown. If you wish to glaze the buns, boil the sugar and water, then spoon over the cooked buns.

DSCF4531DSCF4532DSCF4533DSCF4546DSCF4551DSCF4543

Pea Soup

Tags

, , , ,

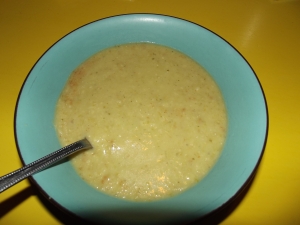
I’ve been meaning to post this since Sunday, but my crazy busy (and excellent!) week has meant that I’ve only just got to it now. This was my St Patrick’s Day soup: green, hearty, and amazingly quick to make (so you can go out partying, of course). Once you’ve soaked the peas in advance, the soup itself only takes 15 minutes to cook, and has just four ingredients. Although it looks boring, it is anything but: highly flavoursome, thick, warm, and better than any pea and ham soup.

It was a perfect finish to my St Patrick’s Day, which I spent at the Martinborough ‘Round The Vines’: a fun 10km walk through vineyards, broken by many wine tasting stations. Hot sun, ripening grapes all around, long lines of vines, and spectacular views across the Wairarapa river terraces. Because pea soups always look gross, no matter how you photograph them, I thought I’d share some Round the Vines photos (not mine) instead.

View of where we ran

View of where we ran

View from one of the vineyards imgres

And soup!

Pea Soup (serves 3)

1 cup dried peas (also called blue peas), soaked in lots of water overnight

1 brown onion

3 cups vegetable stock*

2 tablespoons whole milk powder

Finely chop the onion, and fry until translucent. Add the peas, vegetable stock and milk powder, stir until dissolved, and bring to the boil. Boil for about 10-15 minutes, or until the peas are tender. Blend the soup until smooth. If you want a really smooth soup, push through a sieve. Serve hot.

* This makes a very thick soup. If you prefer soups thinner, then increase the amount of stock.

Peanut Butter Tarts

Tags

, , , ,

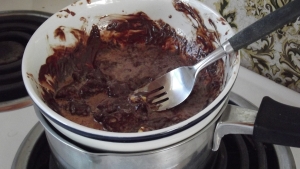
And here’s my first Salient column, plus more pictures. I hope you appreciate the 70s wall paper in my chocolate melting pic (beach house cooking!).

Hello and welcome to ‘The Sweet Scoop’, Salient’s fortnightly baking column. Baking is often talked of as some mysterious art, and there are many people who say that they ‘just can’t bake’. In fact, it is just like finding Easterfield 201: all you need to do is follow directions and it give it a go. Over the next two trimesters, we’ll bake our way through cakes, tarts, puddings, and maybe even popcorn balls, always with easy and achievable recipes.

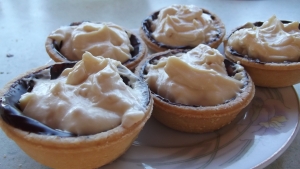
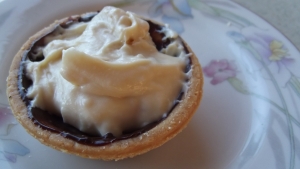
Today’s sweet treat is the peanut butter tart, built on that amazing combination of peanuts and chocolate. It’s of my favourite pairings of ingredients — the sweet pastry and bitter chocolate contrast perfectly with the velvety smooth peanut butter filling. Furthermore, these tarts are super easy to make: although there is some cooling time, the steps are all fast and simple. They travel well, and would grace any tea party, dinner, picnic, or bake sale.

DSCF4499

Peanut Butter Tarts (makes 12)

1.5 tablespoons smooth salted peanut butter

125g cream cheese

1/2 cup icing sugar

1/2 cup cream, plus 1 tablespoon

1/2 teaspoon butter

60g dark chocolate

12 pre-baked tart shells (sweet short pastry, 12x60mm, you can find these ready made in the supermarket, or make your own)

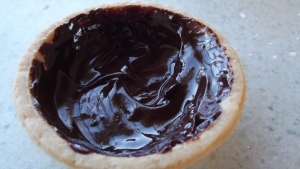
First, heat a pot of water to boiling, and sit a bowl over the top of it. Place the chocolate, butter and 1 tablespoon of cream in the bowl, and stir it until melted. Take teaspoons of the chocolate, and spoon into each tart shell. Smear it around the inside of the shell, thereby lining each one with chocolate. Cover, and place in the fridge for 30 – 60 minutes, or until the chocolate has hardened.

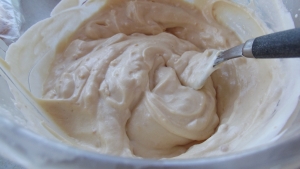
Prepare the tart filling by mixing the peanut butter, cream cheese, and icing sugar together in a food processor or by hand until smooth. Whip half a cup of cream until it’s very stiff, then fold it gently into the peanut butter mixture until fully combined. Chill, covered, in the fridge until the mixture hardens a little (about 20 minutes).

Remove the shells and filling from the fridge, and spoon the filling into the tart shells. You can decorate them with chocolate shavings, chocolate curls, or with chopped peanuts. For a gluten free alternative, serve the filling on its own, or with fruit.

DSCF4481 DSCF4482  DSCF4487 DSCF4488 DSCF4492

Chocolate Eclair Squares

Tags

, , , , , , ,

So. I really like custard squares. Going into bakeries can be really difficult – after all, there’s so much choice, it’s really quite intimidating. Do you go for the cream bun, or the sticky chocolate gateau, or the lammington? Luckily for me, as long as there is a custard square on offer, the choice is easy. I’ve eaten custard square in bakeries and cafes all around New Zealand. In fact, I’m pretty sure I’ll be the first person to graduate with a degree in comparative custard studies. Just you wait.

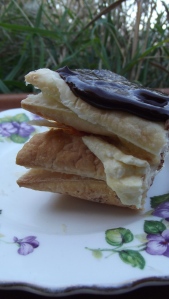
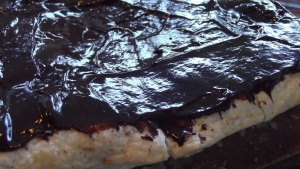
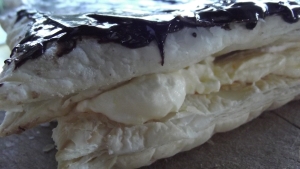
However, it is a truth universally acknowledged that not all custard squares are created equal (how’s that for a mixed quotation). Some are thick lumps of yellow goo, heavier than an early Nokia and more sickly sweet than the West Wing theme music. Others are delightful, with crispy pastry and creamy vanilla custard. I was playing around with making my own when I came up with this square. It is somewhere between an ordinary custard square and a chocolate eclair. The pastry is perfectly puffed, the cream is rich and softly vanilla tinged, and the chocolate glaze is dark and delicious. I took some of these to Summer Shakespeare, and can confirm that they go very well with Anthony and Cleopatra.

Note: To any readers at Victoria University of Wellington, check out next week’s Salient for my fortnightly column, ‘The Sweet Scoop’.

DSCF4468

Chocolate Eclair Squares

2 sheets flaky puff pastry

2 egg yolks

1 cup milk

3 T brown sugar

1 T cornflour/cornstarch

1/2 t vanilla essence

1 cup + 2 T cream

1 T golden syrup

100g dark chocolate


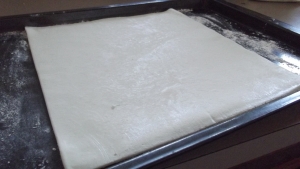
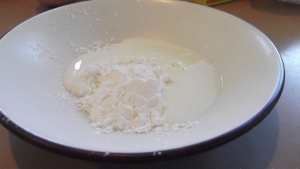
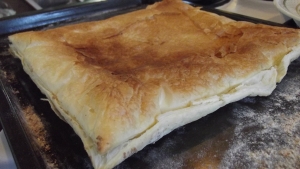
Preheat the oven to 180 degrees celsius, and cook the pastry sheets for 8-15 minutes, until golden brown. Remove and leave to cool. Meanwhile, make the custard. Add a small amount of milk to the cornflour to mix it into a paste. Gradually add more milk, and pour into a saucepan. Add  the egg yolks, vanilla essence, brown sugar, and the rest of the milk. Heat it while stirring, until it reaches the boil. At this point it should be very thick. Remove from the heat, and allow to cool completely. Once both pastry and custard are cold, whip a cup of cream very stiffly, and fold it into the custard. Spread this onto one of the cold pastry sheets, and place the other on top, sandwich style. Melt the dark chocolate together with the golden syrup and remaining cream in a bowl over a pot of boiling water, then spread glaze onto the top pastry layer (just like icing  a cake). Cut the square into pieces with a very sharp knife, and serve immediately.

DSCF4438 DSCF4445 DSCF4447 DSCF4454 DSCF4456 DSCF4457 DSCF4459 DSCF4461 DSCF4462

DSCF4465

Triple Apricot and Chocolate Slice

Tags

, , , ,

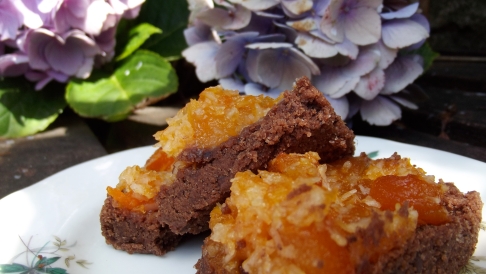
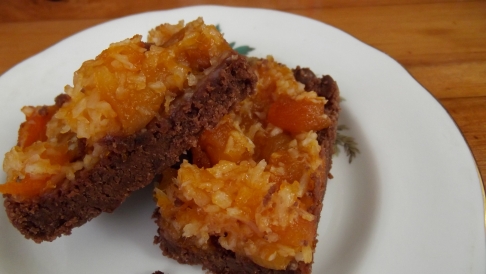
This slice is one of those foods that crosses the line between a dessert and baking. The chocolate base is soft and rich, and is well matched by the sticky, fragrant and fruity apricot topping. For a dessert, serve it warm in large slices, topped with vanilla ice cream. Otherwise, cut into squares and eat it cups of tea.

Image

Triple Apricot and Chocolate Slice

Base:

1 cup white flour

1/3 cup cocoa powder

1/3 cup white sugar

1 teaspoon baking powder

1/2 cup chocolate chips

90g butter, softened

Topping:

1/4 cup apricot jam, warmed

1/2 cup desiccated coconut

1/2 cup chopped dried apricots

4 stewed/canned apricot halves

Preheat the oven to 180 degrees celsius, and grease a square tin. To make the base, combine all the dry ingredients and mix thoroughly. Rub in the butter, then press firmly into the tin. Bake this for 10 minutes. Meanwhile, make the topping by firmly mixing together all remaining ingredients. Once the base has cooked for 10 minutes, remove from the oven and spread the topping evenly over it. Return to the oven and bake for another 10 minutes. Leave to cool a little and harden before cutting.

Image